Create a Polaroid Collage in Photoshop
- itadmin123rf
- Jul 1, 2015
- 2 min read
In today’s tutorial you’ll learn how to split up a photo into multiple polaroids. It’s a simple task that allows you to create a unique collage with a fun 3D effect. So let’s begin!
Software: Adobe Photoshop CS6
Difficulty: Beginner
Completion Time: 1 hour
Images Used For This Tutorial

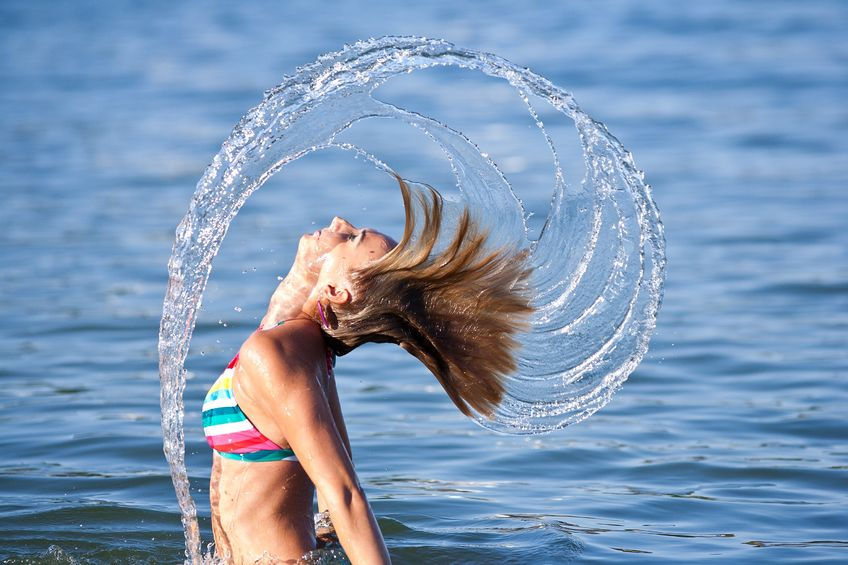
Motion freeze on a girl splashing the sea water with her hair:7587806 ©xalanx

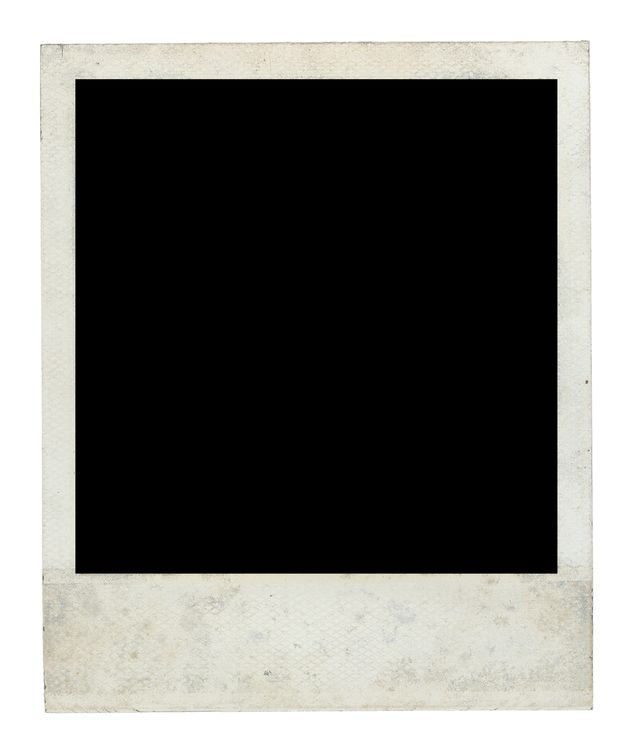
Old dirty Polaroid frame front side with clipping path:18524929 ©ademdemir

Background of gray marble texture:14754863 ©Prapan Ngawkeaw
Creating the Split Polaroids
Step 1
Open up the picture of the girl flipping her hair in Photoshop. Copy and paste your marble background onto the canvas and Control-T to rescale it making sure that it fits over the whole picture.
Step 2
Drag the marble background so that it’s beneath the layer of the hair flipping picture. Now use your personal extraction methods to copy and paste your Polaroid reference onto the canvas. Again, Control-T to Free Transform and rotate into place.
Step 3
Using the Magic Wand Tool (W) select the black area of the Polaroid and hit Delete to remove it. With the area still selected, select the hair flip layer then Right-click and select Layer via Copy. This will create a duplicate specifically for that Polaroid. Then Merge the Polaroid and the copy together. If you hide the visibility of the original hair flip layer you will see the effect start to take form.
Step 4
Continue this process until you have as many polaroids as you want for the collage. When you’re finished, hide the visibility of the original hair flip layer for good.
Step 5
Place all your Polaroid layers into a group. At the top of that group place a duplicate of the hair flipping picture. Then Right-Click to create a Clipping Mask. Use the Eraser Tool (E) to begin erasing parts of the clipping mask. This will help to create a cool 3D water splash effect.
Step 6
Lower the Opacity of the hair flip copy to 50% and continue erasing over all the polaroids and anything that you don’t want covered by the water. Experiment until you find what works best.
Once you’re finished your collage should look like this.
Add Shadows and Final Adjustments
Step 7
Select one Polaroid. Right-click and go to Blending Options. Select Drop Shadow with an Opacity of 70%, a Distance of 2 px, a Spread of 9%, and a Size of 13 px.Copy the Layer Style of this Polaroid, then go to every other Polaroid that’s left and Right-click to Paste the Layer Style.
Step 8
Now let’s create a simple vignette effect. Create a new layer and fill it with Black. Use the Elliptical Marquee Tool (M) to create a circle and delete the middle. Blur the edges with Gaussian Blur at 60 pixels, and then bring down the Opacity to 40%.
Step 9
Last but not least, let’s boost up the colors! Add a new Color Balance layer with the following settings. For Shadows: Red -16, Blue +18. And for Highlights: Red -15, Green +6, and Blue +11.
And that’s it! This is a really easy collage effect that you can use with any photo! I hope you’ve enjoyed learning this technique, now go and have fun! Let us know what you think in the comments below!
Comentários