How To Create A Misty Atmosphere In A Landscape Shot
- Nov 15, 2016
- 3 min read
In this tutorial I’ll show you how to create a misty but almost sunny landscape. You’ll learn how to combine several stock images and blend them in the best way possible so it looks flawless and clean. You’ll also learn how to adjust color, create atmosphere, increase the depth and more. Let’s begin!
Photos Needed For This Tutorial:
Final Result:
Step 1
Open Photoshop and create a new 1300×800 px document. Browse the landscape 1 image and place it onto the white canvas.
Step 2
Open the landscape 2 image. Drag this image into our main canvas using the Move Tool (V):

Click the second icon at the bottom of the Layers panel to add a mask to this layer. Use a soft black brush with the opacity varied from 30 to 100% to reveal the landscape 1. Use a higher opacity when brushing over the mountains on the right to make them covered by a mist.
Step 3
Go to Layer > New Adjustment Layer > Curves and set it as Clipping Mask. Increase the lightness to make these mountains brighter and enhance the mist intensity. On this layer mask, use a soft black brush to erase the shadow areas and create a nice contrast for the scene.
Step 4
Use another Curves adjustment layer to increase the light on the areas where are lit by the sky. Use a soft black brush on the layer mask to keep the shade of the other areas.
Step 5
Make a Color Balance adjustment layer to change the scene color:

Step 6
Make a Curves adjustment layer on top of the layers and reduce the lightness. Paint on the illuminated areas and the horizon not to make them affected by this adjustment layer.


Step 7
Isolate the rock from the background and add it to the left edge of the scene.
Step 8
Go to Layer > New Adjustment Layer > Hue/Saturation and reduce the Saturation value to -40:
Step 9
Use a Curves adjustment layer to increase the light on the right side of the rock where is lit by the sky. On this layer mask, paint on the left to keep the shadow of this area:
Step 10
Create another Curves adjustment layer to make the rock shadow stronger. Paint on the right to reveal the lightness there:

Step 11
Make a Color Balance adjustment layer on top of the layers and change the Midtones and Highlights settings:


Step 12
Isolate the tree from the white background and add it to the top right and bottom left of the scene. You can see how I’ve chosen the tree parts and added them in the screenshot below:

Step 13
On the lower tree layer, go to Filter > Blur > Gaussian Blur and set the radius to 4px:
This step is to increase the depth for the scene.

Step 14
Make a Curves adjustment layer for the lower tree layer. It’s nearest the foreground so it should be darker.

Step 15
Select the tree layers and hit Ctrl+G to make a group for them. Change this group mode from Pass Through to Normal 100%. Add a Color Balance adjustment layer within this group to match the tree color with the background.


Step 16
This step is pretty easy. Change the foreground to #221e30 and activate the bird brushes. Make several layers and paint the birds on the horizon area, above the misty mountains.

Step 17
Create a Levels adjustment layer on top of the layers and increase the Midtones value to make the whole scene brighter.

Step 18
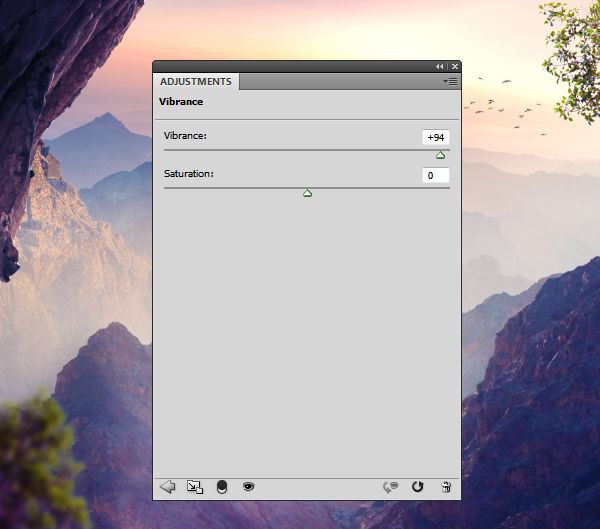
Use a Vibrance adjustment layer to enhance the final effect:


Final Result:

Other Landscape Tutorials That Might Interest You:


Comments